

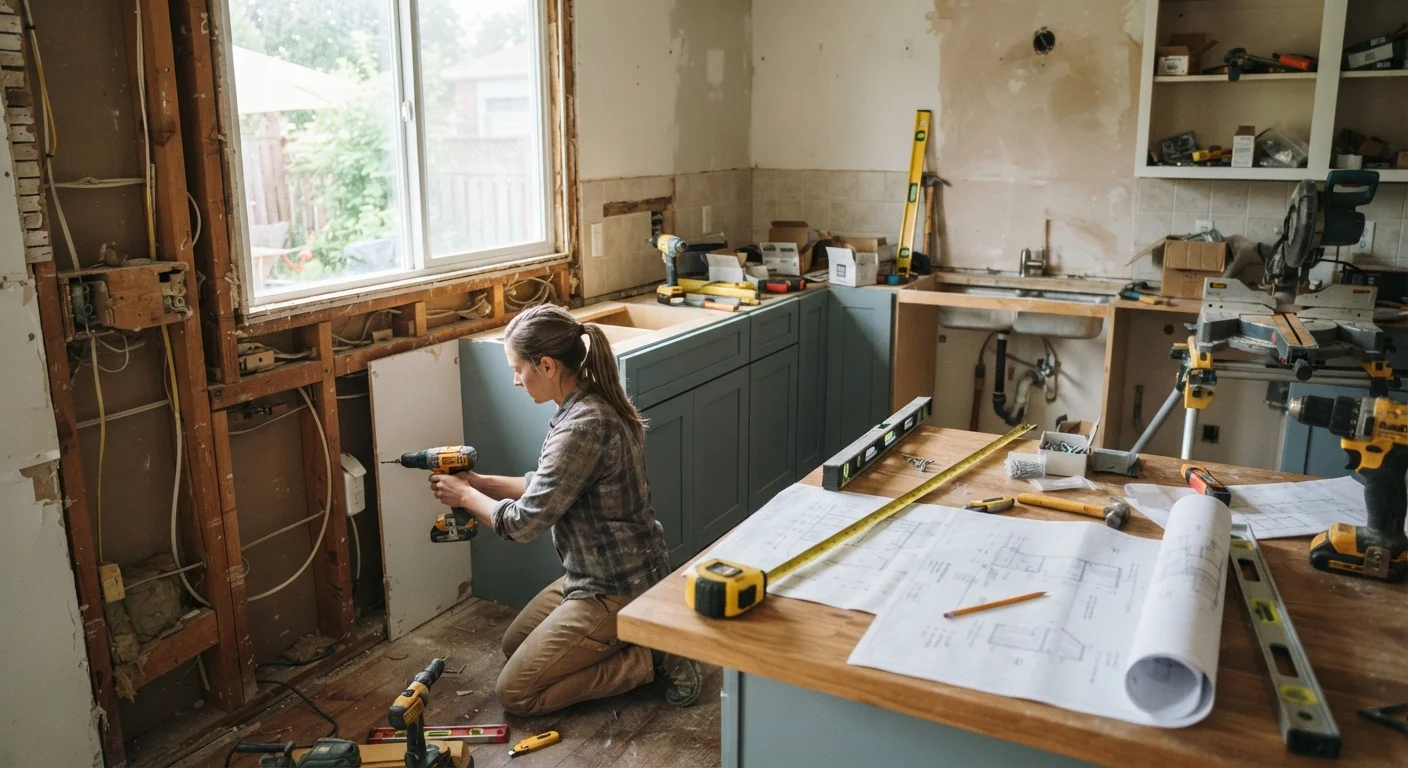
Why Sequence Is the Most Overlooked Part of a Kitchen Remodel
Most homeowners spend weeks choosing cabinet hardware and backsplash tile - and far less time thinking about order of operations. Yet sequencing is what separates a remodel that finishes on schedule from one that stalls when a newly tiled floor has to be torn up to fix a drain rough-in. Getting the sequence right isn't just about efficiency; it protects your investment at every stage.
Think of a kitchen remodel in four broad phases: demolition and structural work, rough-in mechanicals, surfaces and cabinetry, and finishes and trim. Each phase must be substantially complete - and where required, inspected - before the next begins. Skipping ahead is almost always more expensive than waiting.
If your project involves removing or relocating interior walls, review what open layouts really involve before finalizing your scope. Structural changes affect every trade that follows.
Phase 1: Demolition and Structural Work
Demolition is satisfying but disciplined work. Strip out existing cabinets, appliances, and flooring in the reverse order they were installed - appliances out first, then upper cabinets, then base cabinets, then flooring. Protect adjacent rooms from dust with poly sheeting and tape at doorways.
Any structural changes - load-bearing wall removal, new window or door openings, subfloor repairs - happen here. This work almost always requires a permit and an engineer's assessment if load-bearing elements are involved. Do not proceed to mechanical rough-in until structural work passes inspection. Your local building department can confirm what triggers a permit in your jurisdiction.
Pull permits before any demolition begins, not mid-project.
Permits ensure inspections happen at the right phases, particularly before walls are closed over mechanical work. Starting without required permits can force you to undo completed work and may create issues at resale.
Complete all structural modifications before scheduling mechanical trades.
Plumbers and electricians need a confirmed layout to rough in accurately. Structural changes that happen after mechanical rough-in often require rerouting pipes and wires, adding cost and time.
Coordinate cabinet delivery to arrive within days of drywall completion, not weeks.
Long gaps between drywall and cabinet installation expose fresh surfaces to damage and delay the entire downstream sequence - countertop templating, flooring, and plumbing connections all depend on cabinets being set.
Always template countertops after cabinets are fully set and leveled.
Even small variations in cabinet height or depth change countertop measurements. Templating too early results in gaps, overhangs, or a slab that simply doesn't fit.
Schedule final inspections before concealing any appliance connections.
Final electrical and plumbing inspections confirm that connections to appliances like dishwashers, ranges, and refrigerators with ice makers meet current code - protecting both safety and insurance coverage.
Phase 2: Rough-In Mechanicals
With walls open and structure confirmed, licensed plumbers, electricians, and HVAC technicians can rough in their work. This phase includes relocating drains and supply lines, running new circuits (dedicated 20-amp circuits for refrigerators and dishwashers are standard in US code), and extending or repositioning ductwork.
When to Hire Licensed Professionals
In most US jurisdictions, work on electrical panels, gas lines, and plumbing supply-and-drain systems must be performed by - or at minimum inspected under - a licensed professional. This is both a code requirement and a practical safety measure. DIY electrical or gas work that fails inspection may need to be completely redone by a licensed trade, erasing any cost savings. Always verify your local requirements before deciding who performs each scope of work.
Rough-in inspections happen before walls are closed. Do not drywall over rough-in work until your inspector has signed off - reopening walls afterward costs far more than the wait. Coordinate your trades so they're not working in the same area simultaneously; a general contractor or experienced project manager is valuable here if you're juggling multiple subs.
This is also the time to add blocking inside walls for future hardware like heavy range hoods or open shelving. If you're weighing the daily reality of open shelves, plan that blocking now rather than after drywall is up.
Phase 3: Drywall, Cabinets, and Countertops
Once mechanical inspections are passed, hang and finish drywall. Prime the new surfaces before cabinet installation - painting behind and above cabinets while they're absent is dramatically easier than trying to cut in around them later.
Cabinets are installed before final flooring is laid. This is a point of confusion for many first-time remodelers. Base cabinets rest on the subfloor (or a thin layer of underlayment), and the finish floor butts up to them. Laying expensive hardwood or tile under cabinets wastes material and money. Upper cabinets go in first, then lowers, then the appliance spaces are confirmed.
Countertop templating happens after cabinets are set and level - never before. Stone fabricators typically need 7-14 days from template to installation, so schedule this early. The sink cutout and faucet holes are part of the template; have your plumber coordinate timing so the sink can drop in immediately after countertops arrive.
Phase 4: Finishes, Fixtures, and Final Trim
Final flooring, backsplash tile, paint, lighting fixtures, hardware, and appliance installation all happen in this phase - roughly in that order. Tile the backsplash after upper cabinets are set so you can tile directly to the bottom of the cabinet box for a clean line. Install light fixtures and outlet cover plates after paint is complete.
Appliances are typically the last items moved into position. The refrigerator goes in after flooring is done; the range and dishwasher are connected by a licensed plumber and electrician during final inspections. Do not skip final inspections - they confirm that mechanical work meets code and protect you if issues arise later.
43%
Remodels that exceed their original budget
According to the Joint Center for Housing Studies at Harvard University, a significant share of kitchen remodels run over budget, with sequencing errors and change orders among the most cited causes.
6-12 weeks
Typical cabinet lead time from order to delivery
Industry estimates from kitchen and bath trade associations consistently cite 6-12 week lead times for semi-custom and custom cabinetry, making early ordering critical to keeping a project on schedule.
For smaller kitchens or studio-style spaces, many sequencing principles overlap with bathroom projects. The bathroom renovation overview covers parallel considerations worth reviewing. For layout decisions before any demo begins, the room layout planning checklist is a useful starting point.
“The trades that come last in a kitchen - the tile setter, the painter, the hardware installer - do their best work when every trade before them has done theirs in the right order. Sequencing isn't glamorous, but it's the foundation everything else is built on.”
— National Association of the Remodeling Industry, Industry guidance on remodeling project management
The content on this site is for informational purposes only and is not a substitute for professional advice. Always consult a qualified professional for guidance specific to your situation.