

What You're Missing by Sticking to Auto
The default auto mode on your smartphone camera is genuinely impressive - it processes dozens of variables in a fraction of a second. But it also makes judgment calls that don't always match your creative intent. When the camera guesses wrong about exposure, color temperature, or depth of field, the resulting photo can look flat, washed out, or artificially processed.
The good news: most modern phones - whether running iOS or Android - bury a range of manual and semi-manual settings inside the native camera app, often under a label like "Pro," "Expert," or "More." Understanding what each setting does, and when to reach for it, can meaningfully improve your photos without requiring any extra hardware. If you're still getting familiar with your phone's overall capabilities, our guide to understanding smartphone specs explains how camera hardware relates to the settings you control in software.
Manual (Pro) Mode
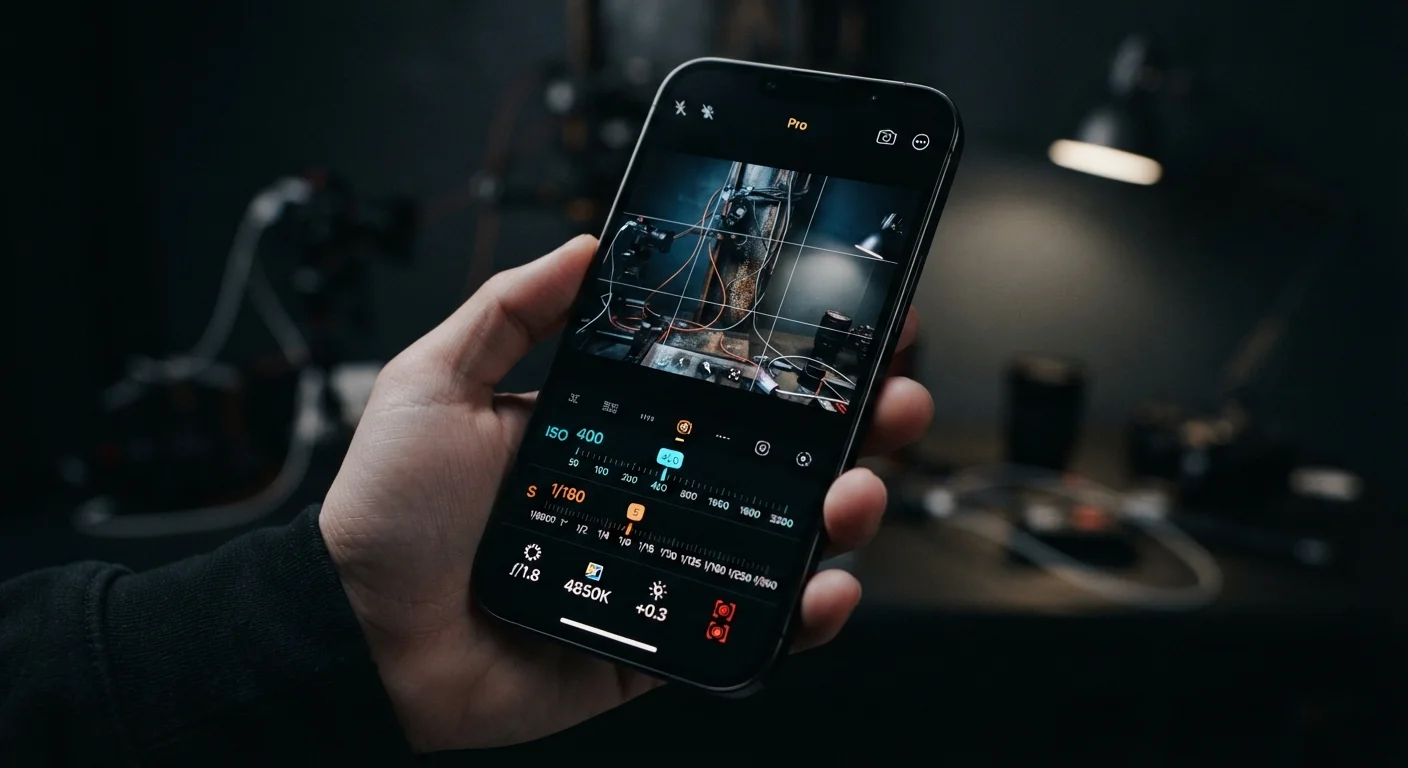
Manual mode - labeled "Pro" on many Android devices - lets you independently set ISO (light sensitivity), shutter speed, white balance, and focus distance. Auto mode links these variables together; manual mode breaks that link.
When to use it: low-light scenes where auto keeps bumping ISO too high and introducing grain, or bright outdoor scenes where the camera overexposes a subject against the sky. Setting a lower ISO and slower shutter speed in manual can produce cleaner results than Auto's assumptions.
Manual mode breaks the link between exposure variables, giving you direct creative control.
RAW File Format
By default, your phone saves photos as JPEG files. JPEG processing is baked in - the camera applies sharpening, noise reduction, and color grading, then discards the underlying data. RAW files skip that processing and preserve the full sensor output.
The trade-off: RAW files are significantly larger (often 20-30 MB versus 3-5 MB for JPEG), and they require editing software to look their best straight out of camera. But they give you far more latitude to recover shadows, reduce highlights, or correct color in post-processing without visible quality loss. Most editing apps on both iOS and Android support RAW.
RAW files preserve sensor data that JPEG discards, giving editing software much more to work with.
White Balance
Auto white balance is designed to neutralize color casts, but it can drift between frames - making a photo sequence look inconsistent - and it sometimes overcorrects in mixed lighting environments like offices with fluorescent overhead lights and natural window light.
Setting white balance manually to a specific color temperature (measured in Kelvin) locks the look across a shoot. Tungsten settings cool down warm indoor light; Cloudy settings warm up flat overcast light. It's one of the fastest ways to make indoor phone photos look more natural.
Locking white balance manually prevents color inconsistency across a photo sequence.
Aspect Ratio
Most phones default to a 4:3 aspect ratio, which matches the native sensor shape and captures the most pixel data. But you can typically switch to 16:9 (widescreen), 1:1 (square), or even full sensor output.
Choosing the wrong ratio for your end use matters. A 16:9 image fits a widescreen display cleanly but crops awkwardly into a print. A 1:1 square is optimized for certain social platforms but wastes sensor area. Shooting at the native 4:3 and cropping in editing gives you the most flexibility - but understanding the tradeoff lets you make that call intentionally.
Shooting at native 4:3 and cropping later preserves the most image data for any final use.
Histogram and Grid Overlays
The grid overlay places rule-of-thirds lines on your viewfinder - useful for leveling horizons and avoiding the static, centered compositions that auto framing often defaults to. It's a minor change that visibly improves compositional consistency.
The histogram, where available in Pro mode, shows the distribution of light and dark tones in real time. A spike pushed hard to the right means highlights are being clipped (blown out); a spike at the left means deep underexposure. Using the histogram before you shoot is more reliable than judging exposure from a screen in variable lighting.
A real-time histogram is more reliable than screen brightness for judging exposure before you shoot.
Focus Mode and Focus Lock
Tapping to focus is widely known - but pressing and holding to lock focus is less so. On both iOS and Android, holding your tap triggers an AE/AF lock, preventing the camera from re-evaluating focus and exposure when the scene shifts slightly or something crosses the frame.
This is especially valuable when shooting through glass, photographing subjects against busy backgrounds, or capturing moving subjects where you want the focus point anchored to a specific plane rather than tracking automatically.
Holding your tap to lock focus stops the camera from re-evaluating when the scene shifts.
Making These Settings Work for You
The goal isn't to use manual controls on every shot - auto mode remains the right choice for fast-moving or unpredictable moments. The goal is knowing when automation is working against you and having the confidence to override it. Start with one setting at a time rather than switching everything at once. Shooting RAW is a natural first step for anyone who edits photos on their phone or computer.
Start with One Setting at a Time
Switching from auto to full manual in one step can feel overwhelming and lead to missed shots. Instead, try enabling just RAW capture for a week, then experiment with white balance the following week. Building familiarity with each control individually makes them second nature by the time you combine them.
For a deeper look at the terminology you'll encounter in your camera's Pro mode - like aperture, ISO, and color temperature - see our plain-language glossary of smartphone terms. And if you notice your camera app or other background processes are affecting battery life, this breakdown of common battery drains is worth a read.
The content on this site is for informational purposes only and is not a substitute for professional advice. Always consult a qualified professional for guidance specific to your situation.