

What You Need to Know Before You Start
Installing a smart thermostat is one of the most accessible smart home upgrades a homeowner can tackle - but it comes with a few important prerequisites. Unlike swapping out a light bulb, thermostat wiring connects directly to your HVAC system, and mistakes can damage equipment or create safety hazards.
The first thing to determine is whether your system is compatible. Most smart thermostats work with standard 24-volt central heating and cooling systems. They are generally not compatible with electric baseboard heat, high-voltage systems (120V or 240V), or some older two-wire systems without a common wire. Check your HVAC equipment documentation or the thermostat manufacturer's compatibility checker before buying anything.
The second hurdle is the C-wire (common wire). This wire completes the circuit that powers a smart thermostat continuously. Many older homes lack one. Without it, some smart thermostats will still work using a power-stealing method or an included adapter kit - but performance can be inconsistent. Confirm this detail early.
What you will need
If you're just getting started with connected home devices, see our guide to setting up a smart home in the right order for broader context on where a thermostat fits into your ecosystem.
Step-by-Step Installation
Once you've confirmed compatibility, the physical installation follows a predictable sequence. Work carefully and don't rush - thermostat wiring uses small terminals and thin wires that are easy to damage.
Turn off power at the circuit breaker
Locate the breaker that controls your HVAC system or furnace and switch it off. Do not rely solely on turning the thermostat to "off" - the wiring behind it remains live until the breaker is cut. If you have a non-contact voltage tester, hold it near the thermostat wiring after removing the cover to confirm no voltage is present before proceeding.
Remove the old thermostat and photograph the wiring
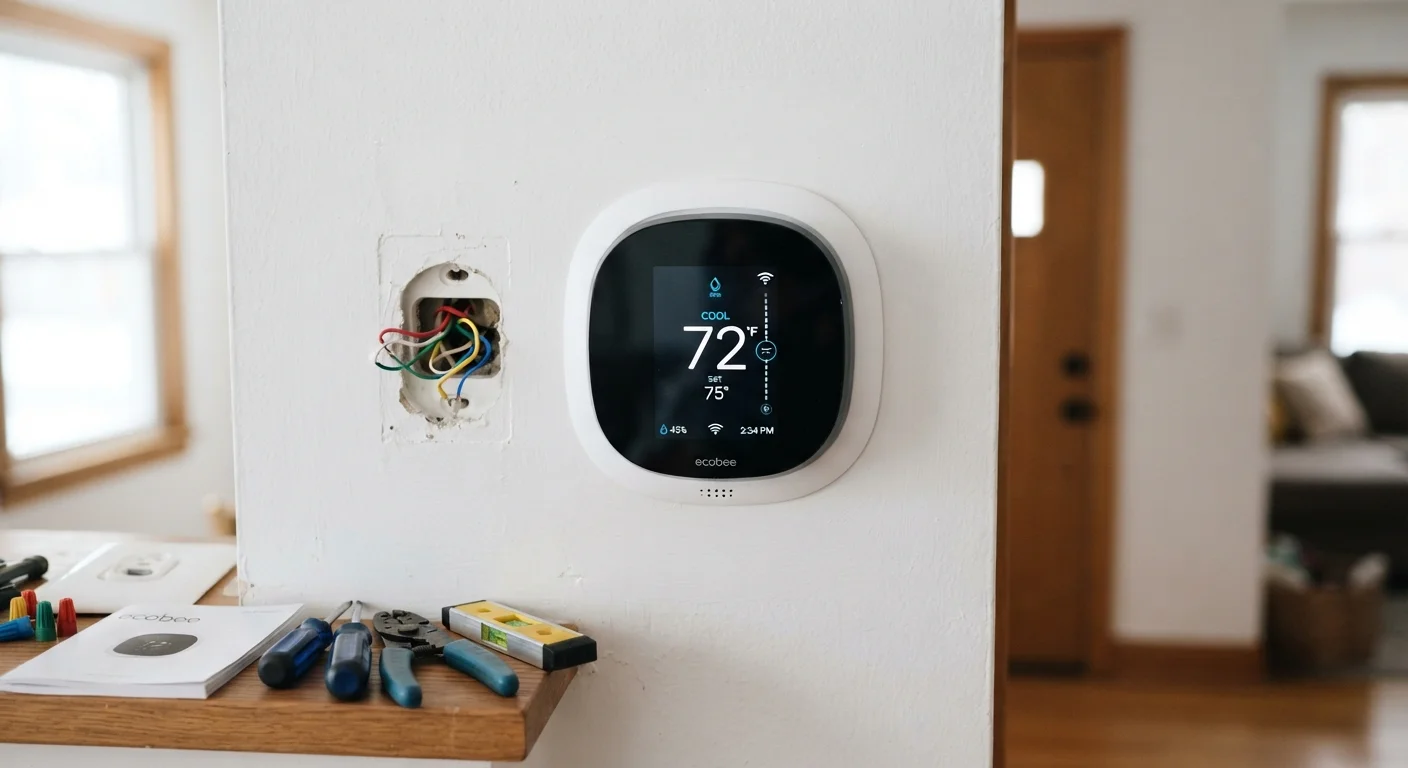
Remove the faceplate or body of your existing thermostat. Before disconnecting a single wire, take a clear photograph of all the wires and their labeled terminal connections. This image is your safety net. Once photographed, use small pieces of masking tape to label each wire with the terminal letter it was connected to (R, G, Y, W, C, etc.), then gently loosen the terminal screws and remove the wires.
Mount the new thermostat base plate
Thread your labeled wires through the center opening of the new mounting plate. Use a level to confirm the plate is straight - most smart thermostats have a visible display that will look crooked if the base is off. Secure the plate to the wall using the included screws. Avoid overtightening, which can crack the base on drywall-mounted units.
Connect the wires to the new terminals
Refer to both your photograph and the new thermostat's wiring diagram. Insert each labeled wire into its corresponding terminal on the new device - the terminal letters are usually printed on the base. Push each wire in firmly until it clicks or tighten the screw until secure, depending on the terminal type. Ensure no bare copper wire is exposed outside the terminal, which could cause a short.
Attach the thermostat display and restore power
Snap or slide the thermostat display onto the mounted base plate according to the manufacturer's instructions. Return to your breaker panel and switch the HVAC circuit back on. The thermostat should power on within a few seconds. If it doesn't, turn the breaker off again and recheck your wire connections before troubleshooting further.
Complete setup in the companion app
Open the thermostat's companion app on your smartphone and follow the in-app setup flow. You'll typically be asked to connect the thermostat to your Wi-Fi network, confirm your HVAC equipment type (heating only, cooling only, or both), and set your preferred schedule or mode. Most apps also run a system test that briefly activates heating and cooling to confirm everything is wired correctly.
High-Voltage Systems Are Not DIY-Friendly
If your home uses electric baseboard heaters or any 120V or 240V thermostat system, standard smart thermostat installation guides do not apply. These high-voltage systems require a licensed electrician. Installing a low-voltage smart thermostat on a high-voltage system can cause fire hazards or permanent equipment damage.
For a deeper look at where DIY electrical work ends and professional territory begins, the article on common electrical misconceptions is worth reading before you pick up a screwdriver.
When to Stop and Call a Professional
Not every thermostat installation is straightforward. Certain situations genuinely require a licensed HVAC technician or electrician - and recognizing them early saves time, money, and risk.
- Heat pump systems: These use additional wiring terminals (typically O/B) and staging logic that varies by manufacturer. Incorrect wiring can damage the compressor.
- Multi-stage systems: If your system has two-stage heating or cooling, the wiring configuration is more complex than a basic setup.
- No C-wire and no adapter option: If your chosen thermostat requires a C-wire and your system has no good way to add one, running a new wire is a job for a professional.
- Wiring you don't recognize: If the wires behind your old thermostat don't match any labeled terminal diagram in your new device's manual, stop. Guessing can damage your HVAC equipment.
For a broader framework on knowing when to DIY versus hire out, see this guide on DIY vs. professional home maintenance.
Run the System Test Before Calling It Done
Nearly every smart thermostat app includes a built-in system test that activates your heating and cooling for a short cycle. Run this test immediately after setup - don't wait until the weather demands it. Catching a miswired terminal now, while your tools are still out, is far easier than diagnosing a non-functioning system on a cold night.
Once your thermostat is running, you may find it does far more than just scheduling. Our article on overlooked smart home features covers capabilities many owners never explore.
The content on this site is for informational purposes only and is not a substitute for professional advice. Always consult a qualified professional for guidance specific to your situation.