

Why Topo Maps Still Matter in a GPS World
Digital navigation has made outdoor adventure more accessible than ever - but it's also created a generation of hikers who can follow a blue dot without understanding the terrain around them. A topographic map (commonly called a topo map) gives you something a GPS track alone cannot: a complete picture of the land's shape, slope, and drainage patterns. That information changes how you plan, how you pace yourself, and how safely you can respond when conditions shift unexpectedly.
Whether you're a casual day hiker or working up to longer expeditions, map-reading is a foundational skill. It pairs naturally with other outdoor preparation habits - our guide on what to know before your first hiking trip covers the wider pre-hike checklist. And if you're curious how topo map reading fits into choosing the right outdoor activities for your fitness level, check out outdoor activities across every fitness level.
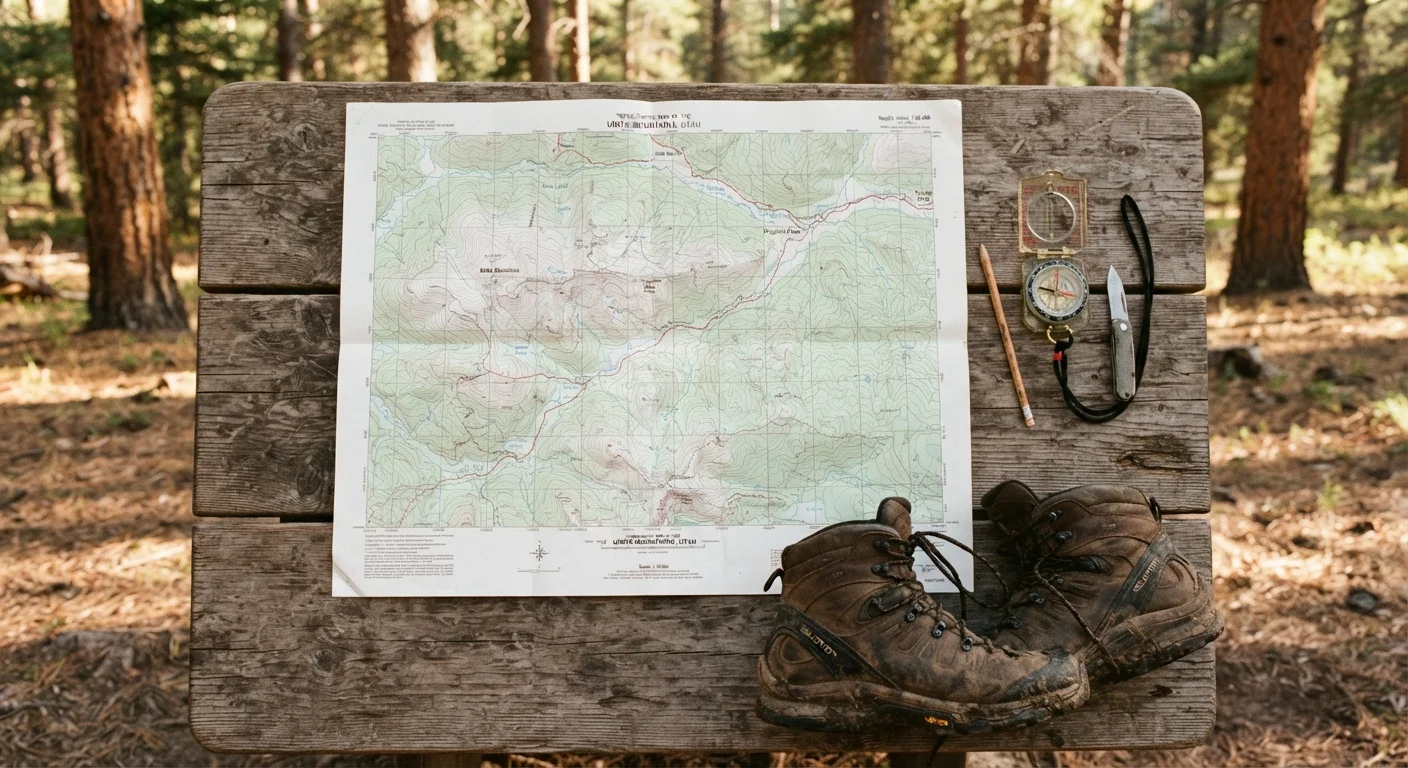
USGS Topographic Map (7.5-minute series)
Provides detailed 1:24,000-scale terrain data for a specific geographic area, the standard for most US hiking.
Baseplate Compass
Used to orient the map to true north so features on the map align with real-world terrain.
Pencil or Chinagraph Marker
Allows you to trace your planned route and mark key waypoints directly on the map.
Step-by-Step: Reading Your Topo Map
Follow these steps before your next outing. You don't need any prior surveying knowledge - just the map, a few minutes, and the guidance below.
What you will need
Read the map legend and margins first
Before anything else, scan the map's edges. The legend identifies symbols for trails, water sources, roads, and structures. The scale bar shows how map distance translates to ground distance - on a 1:24,000 USGS map, one inch equals 2,000 feet. Find the contour interval, which states how many vertical feet separate each contour line (commonly 40 feet on standard US topo maps). These three pieces of information are your decoding key for everything else on the sheet.
Understand what contour lines tell you
Contour lines are the soul of a topo map. Each line traces a path of equal elevation across the terrain. When lines are spaced far apart, the slope is gradual. When they bunch tightly together, expect a steep climb or drop. Index contours - the slightly thicker lines labeled with an elevation number - appear every fifth line and make it easy to count your way up or down a slope. Closed circles or ovals usually indicate a hilltop or peak; if they have tick marks pointing inward, they indicate a depression.
Identify key terrain features
Once you're comfortable with contour lines, start identifying landforms:
- Ridge: A line of high ground - contour lines form a V or U shape pointing downhill.
- Valley or drainage: Contour lines V-shape pointing uphill, often indicating a stream corridor.
- Saddle: A low point between two peaks, shaped like an hourglass on the map - useful as a navigation target.
- Cliff: Contour lines merge or nearly overlap for a significant stretch.
Recognizing these shapes lets you predict what your body will feel before your legs do.
Calculate elevation gain along your route
Trace your planned trail on the map and count how many contour lines you cross going uphill. Multiply that number by the contour interval to get your total elevation gain. A route crossing 20 contour lines at a 40-foot interval means 800 feet of climbing. This calculation is one of the most practical uses of a topo map - it helps you estimate effort and time far more accurately than trail distance alone. If you're planning your first multi-day outing, see our beginner's backpacking guide for more on managing expectations.
Orient the map to the real world
A map is most useful when it aligns with the landscape in front of you. Hold the map flat and rotate it until the north arrow (printed on the map margin) points toward magnetic north on your compass. Now the ridgelines, valleys, and water features on the map should correspond to what you see around you. This is called orienting the map, and it transforms the map from an abstract diagram into a live picture of your surroundings. Practice this at the trailhead before you start moving.
Plan for water and bail-out points
Blue lines on a topo map indicate streams and rivers; blue areas indicate lakes or ponds. Use these to plan water resupply points - but always verify current conditions before your trip, since seasonal streams may run dry. Also identify bail-out routes: alternate paths back to a trailhead or road in case weather changes or someone in your group needs to turn back early. Checking your map for these contingencies before you start is a habit that experienced hikers develop early. For more on mountain weather risks, our article on how beginners underestimate mountain weather is worth reading alongside your map prep.
Practice at Home Before the Trailhead
Pull up a topo map of a park or neighborhood you know well and spend 10 minutes matching contour shapes to hills and valleys you've walked. This low-stakes practice builds pattern recognition fast. The USGS National Map Viewer offers free downloadable topo maps for the entire US - a great resource for printing your own.
Don't Rely Solely on Your Phone
GPS apps can lose signal, run out of battery, or fail in remote terrain. A printed or pre-downloaded topo map serves as a critical backup. Consider storing an offline map on your device AND carrying a paper copy for any hike beyond a well-marked day trail.
Maps Show Terrain, Not Trail Conditions
A topographic map reflects the land's physical shape, not current trail conditions. Bridges wash out, trails re-route, and seasonal closures happen. Always check with the managing agency - such as the US Forest Service or National Park Service - for current trail status before you depart.
Taking Your Map Skills Further
Learning to read a topo map is a gateway skill. Once you can interpret elevation change and terrain features on paper, you'll start noticing how they translate to effort, timing, and route choice in the field. Trail runners who move off-road find topo literacy especially useful - the shift from road running to trails involves exactly the kind of terrain reading that topo maps develop. The same goes for understanding gear ratings when you're outfitting yourself - see how to interpret outdoor gear ratings and claims for a useful companion read.
The more time you spend matching the map to real terrain, the faster this skill becomes second nature. Carry your topo map on every hike - even short ones - and you'll be surprised how quickly the lines start speaking to you.
The content on this site is for informational purposes only and is not a substitute for professional advice. Always consult a qualified professional for guidance specific to your situation.