

Choosing the Right Approach for Your Repair
Not all drywall damage is equal, and using the wrong repair method wastes time and materials. A tiny nail hole filled with a thick backing patch is overkill; a fist-sized void filled only with spackle will crack and sag within weeks. Matching the method to the damage is the most important judgment call in the whole process.
As a general rule:
- Under ½ inch: Spackle or lightweight compound, one or two coats.
- ½ inch to 4 inches: Mesh patch kit or California patch with two to three coats of compound.
- 4 inches and larger: Cut-in drywall replacement with furring strip backing and taped seams.
For context on when a drywall repair is straightforward enough to DIY versus when a contractor makes more sense, see our guide on DIY vs. calling a professional.
What you will need
Tools and Materials You'll Need
Gathering everything before you start prevents mid-repair trips to the hardware store and lets compound dry at the right pace. The list below covers the full range of repairs - scale back if you are only fixing small holes.
Putty knife (4-6 inch)
Spreads and feathers joint compound smoothly over small to medium repairs.
Drywall saw or utility knife
Cuts damaged drywall cleanly to create straight edges for large patch repairs.
Drywall mesh tape
Bridges and reinforces repairs larger than about 3 inches in diameter.
Sanding sponge or sanding block
Smooths dried compound between coats without gouging the surrounding wall surface.
Corner bead (metal or plastic)
Protects and straightens repaired outside corner edges on large patches.
Step-by-Step Repair Instructions
Follow the steps below in order. Rushing the drying time between coats is the most common cause of cracked or uneven repairs - patience here pays off in a cleaner final result.
Identify the damage type and choose your method
Walk through the damage before buying materials. Nail holes and small dents (under ½ inch) need only lightweight spackle or pre-mixed joint compound. Mid-size holes (½ inch to about 4 inches) are best handled with a self-adhesive mesh patch or a California patch. Large holes (over 4-6 inches) require a cut-in drywall patch backed by wood or metal furring strips.
Prepare the damaged area
Remove any loose paper facing, crumbled gypsum, or protruding nail heads. For large holes, use a drywall saw or utility knife to cut the opening into a clean rectangle - straight edges make patching far easier and produce a stronger result. Wipe away dust with a dry cloth.
Apply the patch or backing
Small holes: Apply a thin coat of pre-mixed joint compound directly with a putty knife. Mid-size holes: Press a self-adhesive mesh patch over the opening, then coat with compound. Large holes: Cut a drywall replacement piece to fit the opening precisely. Fasten 1×3 or 2×4 furring strips inside the wall cavity spanning the opening, then screw the new drywall piece into those strips using drywall screws every 8 inches. Apply mesh or paper tape over all seams.
Apply and feather joint compound
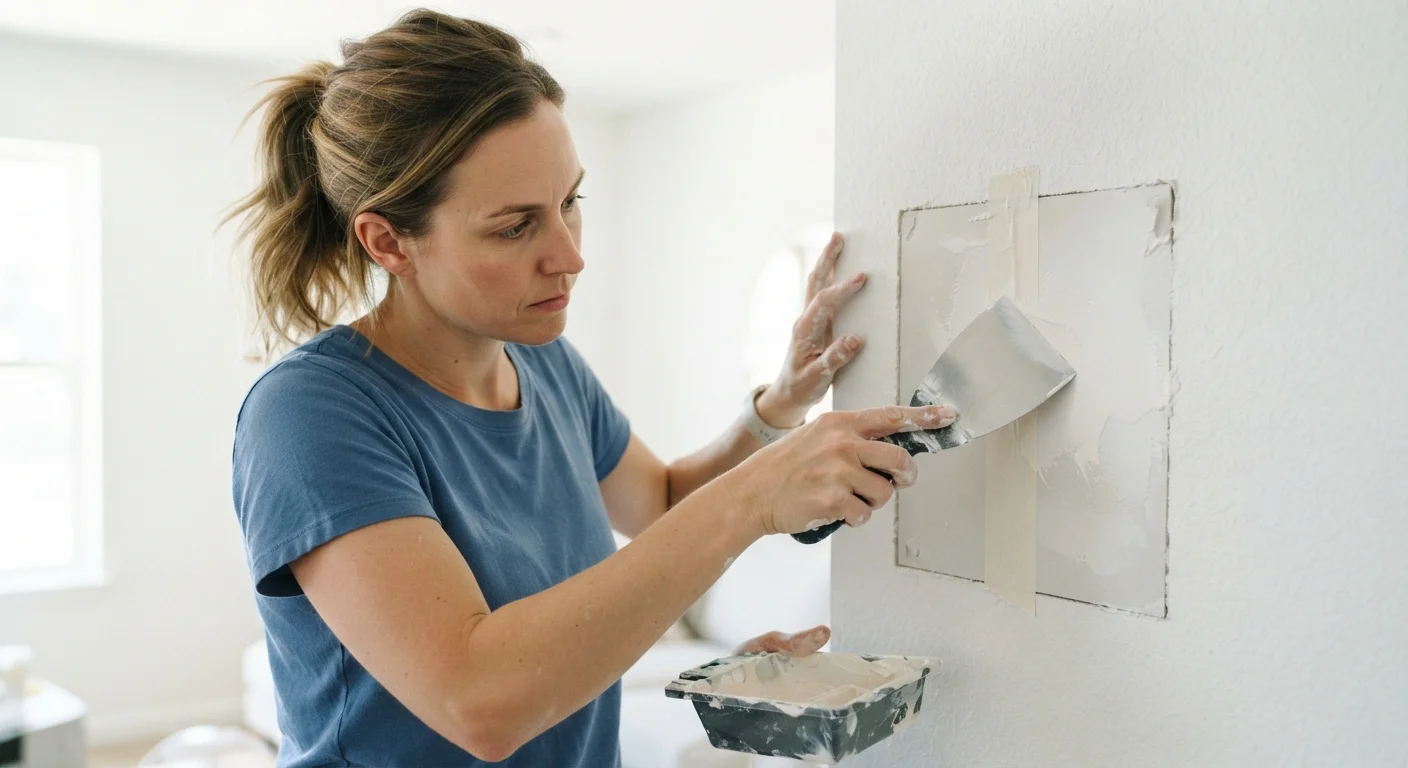
Spread the first coat of joint compound over the patch, extending it 2-3 inches beyond the repair edges. Hold the knife at a shallow angle and feather the edges so there is no visible ridge where compound meets bare wall. Allow to dry fully - typically 24 hours for pre-mixed compound, or per the manufacturer's instructions for setting-type compound. Apply a second coat wider than the first, then a thin finishing coat if needed. Each coat should be thinner and wider than the last.
Sand, prime, and paint
Once the final coat is fully dry, sand lightly with 120-grit paper until smooth, then finish with 220-grit for a paint-ready surface. Wipe away all dust. Apply a drywall primer to the repaired area - skipping this step causes the patch to absorb paint differently, creating a visible dull spot. Once primer is dry, paint to match the surrounding wall. For best color blending, paint the entire wall panel rather than just the patch.
Match Your Paint Sheen, Not Just the Color
Paint color is only part of the equation - sheen level matters just as much. A flat-finish touch-up over a satin wall will show the patch clearly under certain lighting. Always note the existing sheen (flat, eggshell, satin, semi-gloss) when you bring a color sample to the paint counter.
When to Stop and Call a Pro
Some situations behind a damaged wall go beyond cosmetic repair. Call a licensed professional if you discover:
- Mold or discoloration on the back of the drywall or on wall framing - this signals a moisture problem that must be addressed before repatching.
- Damaged or corroded electrical wiring, junction boxes, or outlets.
- Cracked or buckled framing studs, which may indicate structural or settlement issues.
- Evidence of pest activity (tunneling, frass, or damaged wood).
In each of these cases, patching the surface without resolving the underlying cause will lead to recurring damage. A licensed contractor, electrician, or structural inspector can assess and remediate the root issue safely.
Permits May Be Required for Larger Repairs
In many US jurisdictions, repairing drywall that was removed to access electrical, plumbing, or structural work may require an inspection before the wall is closed up. Check with your local building department before covering any work that touched permitted systems. Closing a wall without a required inspection can create problems when you sell the home.
The content on this site is for informational purposes only and is not a substitute for professional advice. Always consult a qualified professional for guidance specific to your situation.