

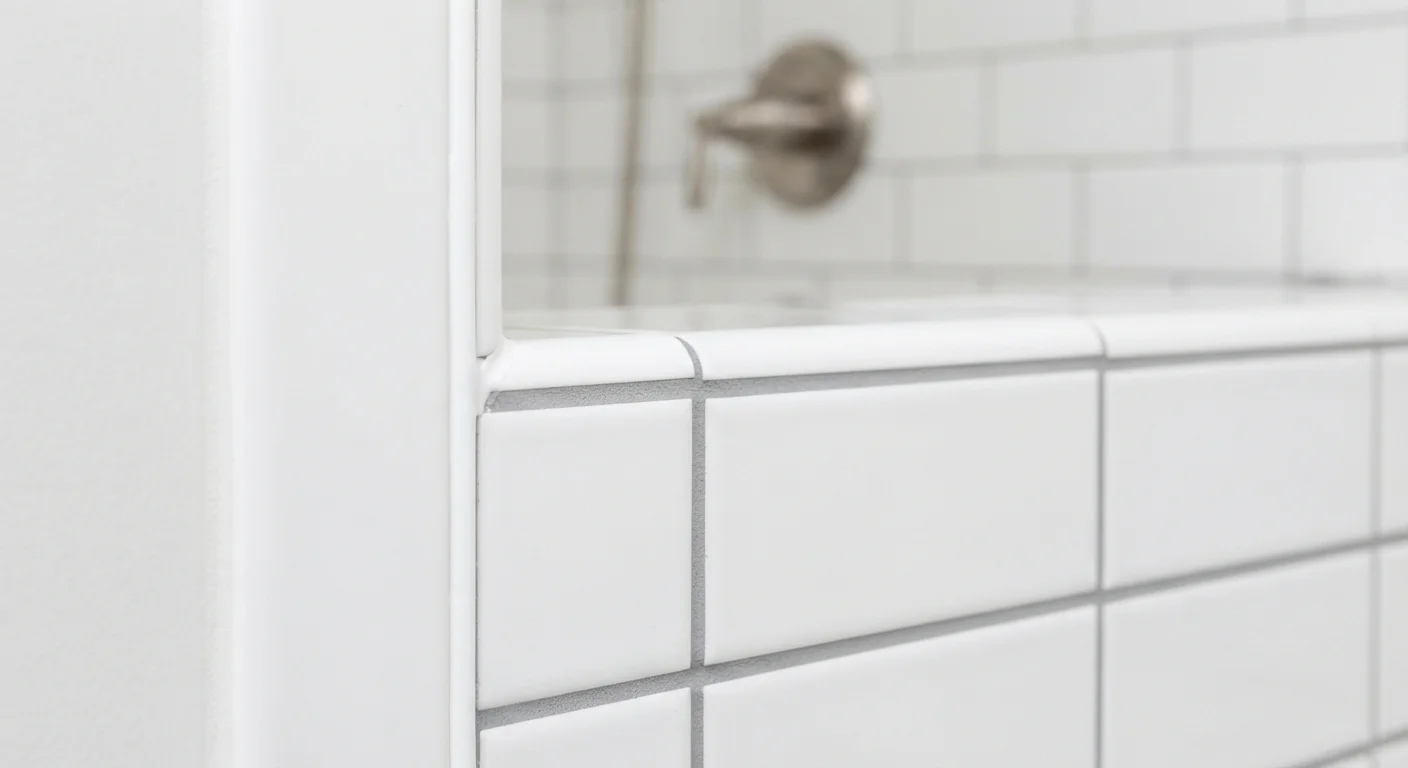
Option A
Grout
The rigid, load-bearing filler for tile fields.
Best for: Filling the joints between tiles on flat, stable surfaces where movement is minimal.
Option B
Caulk
The flexible, waterproof sealant for movement-prone joints.
Best for: Sealing corners, transitions, and any joint where two surfaces meet at an angle or flex slightly.
What Grout and Caulk Are Actually Doing
Grout and caulk look similar when freshly applied - both fill the gaps between tiles - but they perform fundamentally different structural roles. Understanding that difference is the key to a tile installation that stays watertight for years rather than cracking within a season.
Grout is a cement-based (or epoxy-based) material mixed to a paste and packed into the joints between tiles on a flat, stable substrate. Once cured, it is rigid. That rigidity is exactly what you want in the middle of a tile field, where tiles are all bonded to the same surface and move together. Grout resists compressive forces and keeps tiles from shifting against each other.
Caulk is a flexible sealant - typically silicone or acrylic latex - that stretches and compresses without cracking. It is designed for joints that experience movement: corners where walls meet floors, the seam where a bathtub rim meets tile, or any transition between two different materials. When a bathtub fills with water, it can deflect slightly under the weight; caulk accommodates that flex while maintaining a watertight seal.
| Criterion | Grout | Caulk |
|---|---|---|
| Flexibility | Rigid once cured | Flexible; stretches and compresses |
| Primary use location | Flat tile-to-tile joints | Corners, transitions, change-of-plane joints |
| Water resistance | Good when sealed; porous without sealer | Excellent (silicone); moderate (latex) |
| Durability | Many years with proper sealing | 5-10 years in wet areas before reapplication |
| Color matching | Wide palette; color-consistent | Limited palette; sanded caulk approximates grout |
| Movement tolerance | None - cracks under movement | High - designed for moving joints |
| Application difficulty | Moderate; requires float and timing | Low to moderate; caulk gun and tooling |
For a broader look at how caulk fits into the air-sealing toolkit alongside weatherstripping and draft-proofing, see our guide to caulking, weatherstripping, and draft-proofing.
Where Each One Belongs - and Where They Fail
The single most common tile mistake is grouting corner joints. A 90-degree inside corner - where a tiled shower wall meets the shower floor, or where two tiled walls meet - is a change-of-plane joint. The Tile Council of North America (TCNA) specifically calls out these joints as requiring flexible sealant rather than grout, precisely because the two planes move independently.
TCNA Guidelines on Change-of-Plane Joints
The Tile Council of North America's Handbook for Ceramic, Glass, and Stone Tile Installation designates all inside corners and changes of plane as locations requiring a soft, flexible sealant rather than grout. This is an industry standard, not a suggestion. Inspectors and tile contractors reference TCNA guidelines when evaluating tile work, and insurance claims for water damage are sometimes denied when installation departs from recognized standards. When in doubt, follow TCNA guidance or consult a licensed tile contractor.
Here is a practical checklist for placement decisions:
- Use grout: All tile-to-tile joints on flat walls, floors, and countertops; the field of a shower surround.
- Use caulk: Inside corners in showers and tubs; the perimeter joint where tile meets a tub, shower pan, or sink deck; where tile meets drywall, wood trim, or any dissimilar material; control joints in large tile installations.
When grout is used in corners, the rigid joint cannot flex. Seasonal temperature changes, structural settling, and the daily fill-drain cycle of a tub all introduce micro-movement. That movement concentrates at the joint, and grout - having no give - cracks. Water then infiltrates behind the tile, leading to mold, substrate rot, and eventually tile failure.
~90%
Of shower leaks attributed to failed corner joints
Tile industry professionals commonly cite failed corner and transition joints - not the tile field itself - as the leading cause of water infiltration behind shower surrounds.
5-10 yrs
Typical lifespan of silicone caulk in wet areas
With regular cleaning and minimal abrasive exposure, 100% silicone caulk in a household shower can remain effective for up to a decade before requiring replacement.
The fix is straightforward: rake out any grout already in corner joints, clean the surface thoroughly, and apply a color-matched caulk. Most tile suppliers carry sanded caulk in colors designed to approximate common grout shades, making the joint nearly invisible to the casual eye.
Choosing the Right Type of Each Product
Not all grout is the same, and neither is all caulk. Making the right selection within each category matters nearly as much as picking the right category.
Grout types
- Unsanded grout - used for joints under 1/8 inch wide; smoother consistency that won't scratch polished tile surfaces.
- Sanded grout - used for joints 1/8 inch and wider; sand particles add body and reduce shrinkage cracking.
- Epoxy grout - highly stain- and chemical-resistant; often used in commercial kitchens and high-traffic areas. More difficult to work with and significantly more expensive.
Caulk types
- Silicone caulk - best-in-class water and mold resistance; adheres to non-porous surfaces like glass and glazed tile. Difficult to tool smoothly and cannot be painted.
- Acrylic latex (paintable) caulk - easier to apply and clean up; paintable once cured. Less resistant to sustained water exposure than silicone; better suited to dry areas or where color matching requires paint.
- Siliconized latex - a hybrid that offers some flexibility and paintability; a middle-ground option for moderate-moisture areas.
For shower and tub surrounds, 100% silicone or a high-quality siliconized caulk rated for kitchen and bath use is the appropriate choice. Latex caulk in a wet shower will typically degrade and delaminate within a year or two.
Application Tips for a Clean, Durable Finish
Even the correct product fails if applied to an improperly prepared surface. Both grout and caulk require clean, dry substrates for good adhesion.
For grout
- Ensure tiles are fully bonded and mortar is cured (typically 24 hours minimum) before grouting.
- Dampen tile surfaces slightly before applying sanded grout to reduce suction pulling moisture from the mix.
- Work grout diagonally across the joints with a rubber float to pack them fully.
- Clean haze with a damp sponge in a circular motion, rinsing frequently.
- Once fully cured (follow manufacturer timing, usually 48-72 hours), apply a penetrating grout sealer to cement-based grout to resist moisture and staining.
For caulk
- Remove any old caulk completely using a plastic scraper or dedicated caulk-removal tool; never caulk over failing caulk.
- Clean and dry the surface thoroughly - silicone will not adhere to damp or dirty substrates.
- Apply painter's tape on both sides of the joint for a clean line.
- Apply caulk in one smooth, continuous pass, holding the gun at a consistent angle.
- Tool the joint immediately with a wet finger or caulk tool, then remove tape before the caulk skins over.
Plan to inspect caulk joints annually in wet areas. Silicone caulk in a heavily used shower typically needs replacement every five to ten years, depending on water chemistry and cleaning products used.
The content on this site is for informational purposes only and is not a substitute for professional advice. Always consult a qualified professional for guidance specific to your situation.