

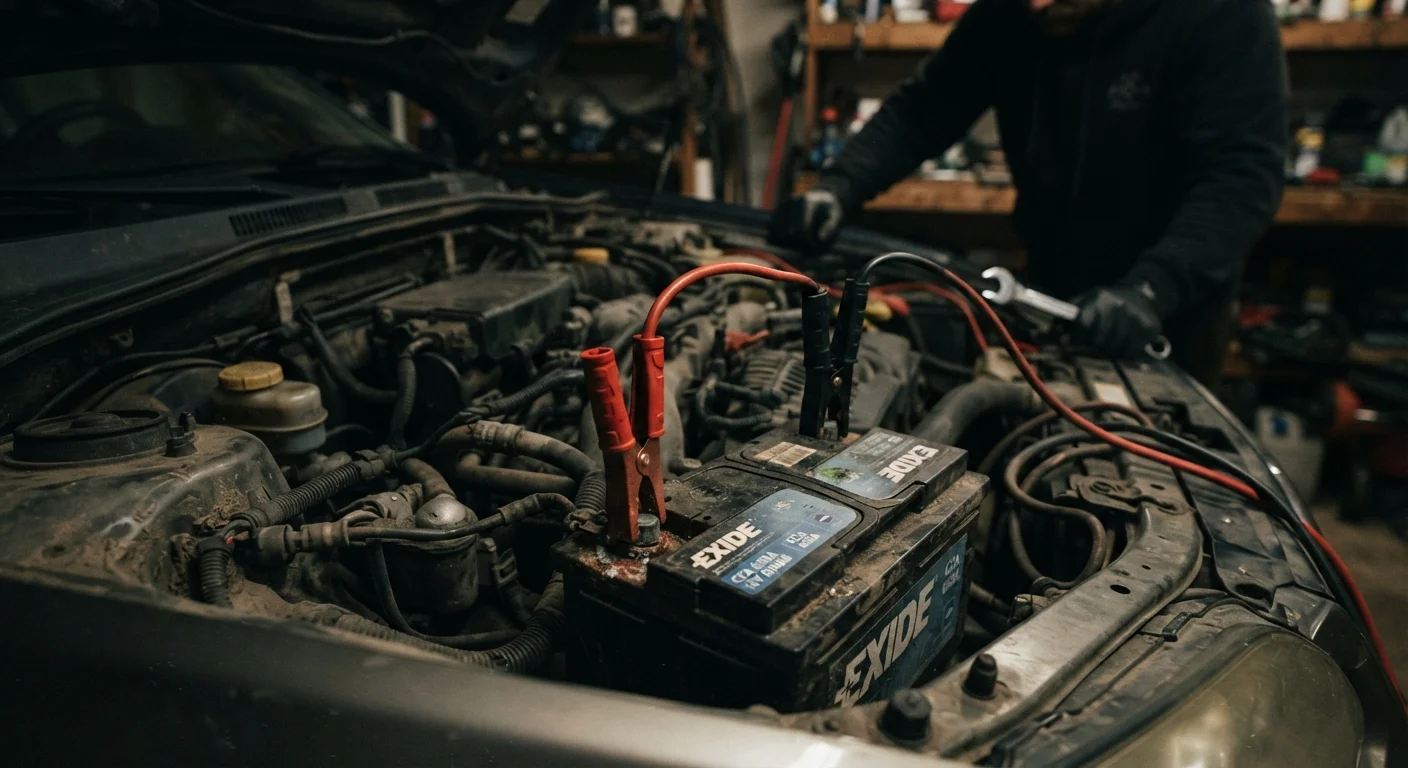
Why These Three Components Are Confused
The battery, alternator, and starter each play a distinct role in getting your engine running - but when one fails, the symptoms can overlap significantly, making the root cause hard to pinpoint without a methodical approach.
The battery stores electrical energy and provides the burst of power needed to crank the engine. The starter motor converts that electrical energy into the mechanical force that physically turns the engine over. The alternator then keeps the battery charged while the engine runs, ensuring there's enough power for the next start.
Because these three components work in sequence, a failure in any one of them can mimic or trigger problems in the others. An alternator that stops charging will eventually drain even a healthy battery. A corroded battery connection can prevent the starter from receiving enough power to engage. This interconnection is why systematic diagnosis matters.
What you will need
How to Diagnose the Problem
The following steps walk you through a logical sequence for isolating the cause of an electrical starting failure. You'll start with the simplest observations and work toward component-level testing. Gather your tools before you begin.
Digital multimeter
Used to measure battery voltage and check alternator output.
Jumper cables or jump starter pack
Used to attempt a jump-start as part of the initial diagnostic process.
Safety glasses and gloves
Protect your eyes and hands when working near the battery.
Flashlight or work light
Helps you visually inspect battery terminals and cables in low-light conditions.
Safety First Around Car Batteries
Car batteries produce hydrogen gas and contain corrosive sulfuric acid. Always wear safety glasses and gloves when handling a battery or jumper cables. Never lean over a battery when connecting or disconnecting cables, and keep sparks and open flames away from the battery at all times.
Note exactly what happens when you turn the key
Before touching anything under the hood, sit in the driver's seat and turn the ignition key (or press the start button). Pay close attention to what you hear and see:
- Nothing at all - no sound, no lights: Likely a severely depleted or disconnected battery.
- A single loud click: Often indicates a faulty starter solenoid or bad starter motor.
- Rapid clicking (machine-gun sound): Classic sign of a weak or discharged battery without enough power to crank the engine.
- Engine cranks slowly and struggles to start: Could be a weak battery or a charging system failure (alternator).
- Engine cranks normally but won't fire: This is usually a fuel or ignition issue - not an electrical starting problem.
Inspect the battery terminals and cables
Open the hood and locate the battery. Look for these common issues:
- Corrosion: White, blue, or greenish buildup on the terminals can interrupt the electrical connection, causing symptoms that mimic a dead battery.
- Loose connections: Try to wiggle each cable by hand. A loose clamp can prevent current from flowing even if the battery is fully charged.
- Physical damage: Cracks, swelling, or leaking fluid on the battery case indicate it needs replacement.
Cleaning corroded terminals with a mixture of baking soda and water (applied carefully with an old toothbrush) can sometimes restore a connection. Dry the area thoroughly before retesting.
Test the battery voltage with a multimeter
Set your digital multimeter to DC voltage (20V range). Touch the red probe to the positive terminal and the black probe to the negative terminal. Interpret the reading:
- 12.6V or higher: Battery is fully charged - the problem likely lies elsewhere.
- 12.0-12.4V: Battery is partially discharged. Charge it fully and retest.
- Below 12.0V: Battery is significantly depleted and may need replacement.
- Below 10V with the engine running: Strongly suggests the alternator is not charging the battery.
Attempt a jump-start to assess the battery
If the battery voltage is low or you heard rapid clicking, attempt a jump-start using jumper cables and a second vehicle (or a portable jump starter pack). Follow correct cable connection order:
- Connect red cable to the dead battery's positive terminal.
- Connect the other red end to the working vehicle's positive terminal.
- Connect black cable to the working vehicle's negative terminal.
- Connect the other black end to an unpainted metal ground on the dead car - not the battery itself.
Start the working vehicle and let it run for 2-3 minutes. Then attempt to start the dead vehicle.
- Starts successfully: Your battery was discharged. Now check your alternator (Step 5).
- Still won't start: The battery may be beyond recovery, or the starter or another component may be at fault.
Check the alternator output while the engine runs
If the jump-start worked, keep the engine running and retest with the multimeter at the battery terminals. With the engine running, a healthy alternator should produce:
- 13.8V to 14.7V: Normal charging range - the alternator is functioning correctly.
- Below 13.5V: The alternator may not be charging adequately.
- Above 15V: The alternator may be overcharging, which can damage the battery and electronics.
Also watch your dashboard: a recurring battery warning light after a successful jump-start is a strong indicator of alternator failure.
Evaluate starter-specific symptoms
If the battery tests healthy and the alternator appears to be charging correctly, but the vehicle still won't start, focus on the starter motor. Starter failure typically shows as:
- A single loud mechanical click when you turn the key
- No crank at all despite a fully charged battery
- Grinding noise when attempting to start (worn starter gear)
- Intermittent starting - works sometimes, fails other times
Starter diagnosis beyond these symptom checks generally requires testing the solenoid and motor directly, which is best left to a mechanic with the proper equipment.
Keep a Basic Diagnostic Record
Note when the problem started, how often it occurs, and what the weather conditions were. Mechanics rely on this information to diagnose intermittent electrical faults much faster - and it can save you labor costs at the shop.
When to Stop Diagnosing and Call a Mechanic
Home diagnostics can take you a long way, but there are clear situations where professional help is the right call:
- The battery won't hold a charge after a full recharge cycle
- Voltage readings are erratic or inconsistent between tests
- You hear grinding or burning smells from the engine bay when attempting to start
- The vehicle is a late-model car with a complex battery management system (common in hybrids and EVs)
- Your multimeter readings suggest the alternator is overcharging the system
Don't Replace Parts Without Confirming the Cause
Electrical components like alternators and starters can be costly. Replacing the wrong part wastes money and leaves the real problem unsolved. Use the diagnostic steps below to narrow down the cause, then have a qualified mechanic confirm with proper testing equipment before purchasing any replacement parts.
A certified mechanic can perform a load test on the battery, a full alternator output test under varying loads, and direct starter solenoid testing - all with specialized equipment that gives definitive results. Describing your symptoms and the results of your home tests will help them work faster and more efficiently.
This article is intended for general informational purposes only. It does not substitute for professional mechanical advice. Always consult a qualified mechanic before replacing major vehicle components.
The content on this site is for informational purposes only and is not a substitute for professional advice. Always consult a qualified professional for guidance specific to your situation.